Heroku is without a doubt my favorite hosting solution, insomuch that I’m currently writing another book devoted entirely to the topic (see
“Easy Heroku for Busy Rails Developers”). Heroku is a cloud platform as a service (PaaS) that in the years since its founding has become a darling of the Ruby on Rails community, however the Heroku team hasn’t shied away from expanding its offerings and now supports Clojure, Java, Node.js, and PHP, among other languages.
If you’re experimenting with Laravel or are planning on managing a relatively small project, you might find Heroku particularly compelling in that it offers a free entry level hosting tier. If your hosting requirements are somewhat more ambitious then you’ll want to take the time to carefully review
Heroku’s pricing optionsas the bills can add up rather quickly. However Heroku really does live up to the adage, “you get what you pay for”, because in my opinion they offer unsurpassed service. If anything, it doesn’t hurt to create a free Heroku account and follow along with the deployment instructions described in this section; you can always easily delete the deployment if you later decide Heroku isn’t for you.
Creating a Heroku Account
To get started, you’ll first need to create a new Heroku account (
https://signup.heroku.com). Doing so is free and only takes a quick moment to do. At registration time you’ll be prompted to choose your desired development language. Go ahead and choose PHP however keep in mind doing so doesn’t limit your ability to later use Heroku in conjunction with other supported languages.
Installing the Heroku Toolbelt
After creating your account you’ll next need to install the Heroku Toolbelt (
https://toolbelt.heroku.com/). The Heroku Toolbelt is a terminal utility you’ll use to manage various aspects of your Heroku-hosted project, including the actual deployment process, migrating your database, and interacting with the Heroku servers in various ways. To install the Heroku Toolbelt, head on over to
https://toolbelt.heroku.com/, where you’ll find either download binaries or installation instructions for OS X, Windows, Debian/Ubuntu, and other Linux distributions.
Once installed, open a terminal and execute heroku:
$ heroku
Usage: heroku COMMAND [--app APP] [command-specific-options]

Primary help topics, type "heroku help TOPIC" for more details:

addons    #  manage addon resources
apps      #  manage apps (create, destroy)
...
update       #  update the heroku client
version      #  display version
You’ll be greeted with a lengthy list of commands. Introducing all of these commands is well out of the scope of this chapter, however feel free to take a moment to read the command descriptions and learn more about them by executing heroku help and then the name of the command (e.g. heroku help logs).
Deploying Your Application
With your Heroku account created and the Heroku Toolbelt installed, it’s time to deploy a Laravel application. As you’ll soon see, this is incredibly easy to do. For purposes of this example let’s just deploy a new application:
$ composer create-project laravel/laravel dev.herokutest.com dev-develop
Installing laravel/laravel (dev-develop 083db95...dac46617)
  - Installing laravel/laravel (dev-develop develop)
  Cloning develop
...
Compiling views
Do you want to remove the existing VCS (.git, .svn..) history? [Y,n]? Y
Application key [9UCBk7IDjvAGrkLOUBXw43yYKlymlqE3Y] set successfully.
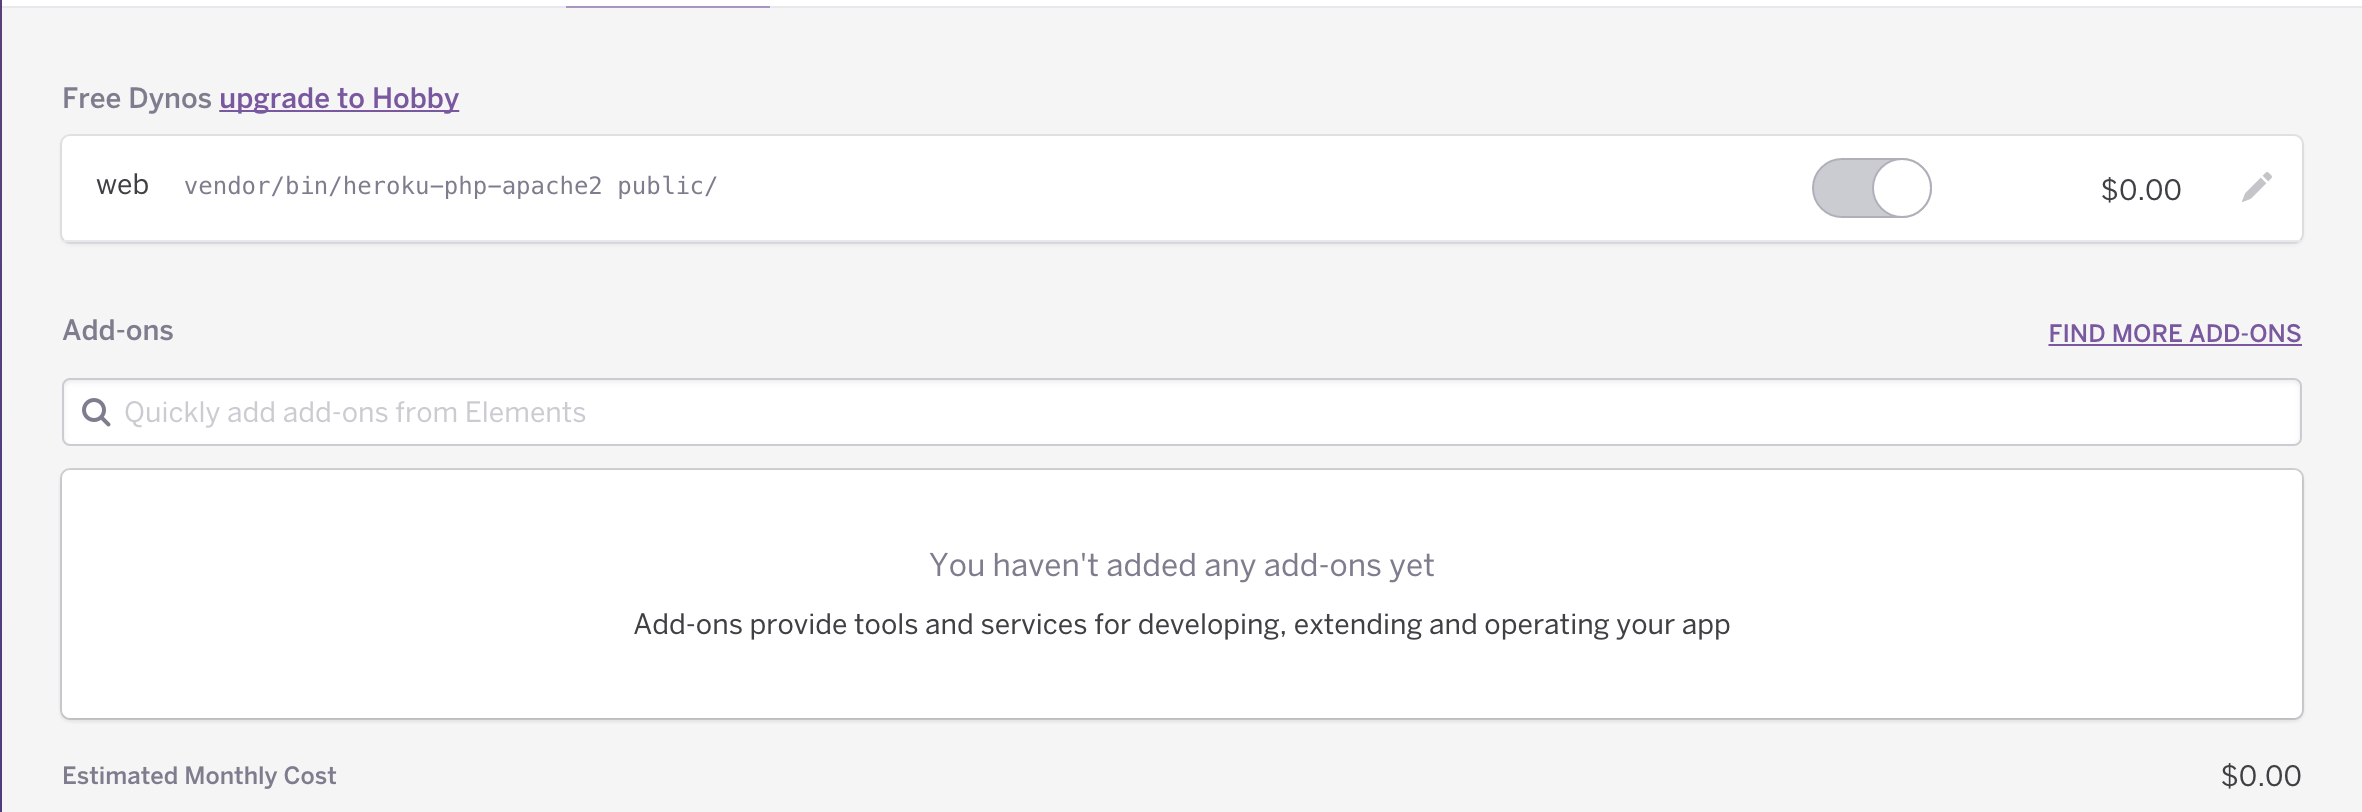
With the project created, you’ll next want to create a Procfile, placing this file in your Laravel project’s root directory. The file’s capitalization is important, and it should not have an extension. Heroku reads this Procfile to determine what types of processes should launch when your application is deployed to one of their servers. In the case of a Laravel application we want to declare a web process type, identify the web server used to serve the application, and identify the application’s document root directory, which in the case of Laravel is public. Therefore the Procfile should consist of the following single line:
web: vendor/bin/heroku-php-apache2 public
After saving these changes to the newly created Procfile, you’ll want to place your project under version control using Git:
$ git init
Initialized empty Git repository in /Users/wjgilmore/Software/dev.herokutest.com/.git/
$ git add .
$ git commit -m "First commit"
You’ll want to use Git in particular because not only do all new Laravel projects come with some Git-specific features (
.gitignore files in the appropriate directories, namely), but Heroku will also interact with your local Git repository to make deployment even easier than it otherwise would be. If you’re not familiar with Git I suggest reading at least the first few chapters of
“Pro Git” (free to read online) and checking out the interactive Git tutorial at
https://try.github.io/.
With your repository created, it’s time to deploy! Use the Heroku Toolbelt to initialize a new Heroku project:
$ heroku create
Creating lit-retreat-6653... done, stack is cedar-14
https://lit-retreat-6653.herokuapp.com/ | https://git.heroku.com/lit-retreat-6653.git
Git remote heroku added
Note how this command created a new name for your application (in my case, lit-retreat-6653), and then identified a URL where the application can be accessed. If you head over to your project’s URL now, you’ll see a standard Heroku welcome placeholder.
Additionally, it created a Git “remote”. A remote repository is simply a Git repository for your project that resides somewhere else. You can push changes to these repositories, and pull changes from them. In the case of Heroku we’ll only ever push changes to the newly created Git remote. I’ll show you how to push these changes in just a moment but first we need to make one quick configuration change. Namely, you need to tell Heroku what buildpack to use. Buildpacks tell Heroku more about the software that should be configured on the server when your application is installed. You can do so using the Heroku Toolbelt’s config:addcommand:
$ heroku config:add \
> BUILDPACK_URL=https://github.com/heroku/heroku-buildpack-php
Setting config vars and restarting lit-retreat-6653... done, v5
BUILDPACK_URL: https://github.com/heroku/heroku-buildpack-php
Finally, it’s time to deploy! You can push your local changes to this remote by executing the following command:
$ git push heroku master
Counting objects: 5, done.
Delta compression using up to 4 threads.
Compressing objects: 100% (5/5), done.
Writing objects: 100% (5/5), 416 bytes | 0 bytes/s, done.
Total 5 (delta 4), reused 0 (delta 0)
remote: Compressing source files... done.
remote: Building source:
remote:
remote: -----> Fetching custom git buildpack... done
remote: -----> PHP app detected
remote: -----> No runtime required in composer.json, defaulting to PHP 5.6.5.
remote: -----> Installing system packages...
...
remote: -----> Launching... done, v6
remote:        https://lit-retreat-6653.herokuapp.com/ deployed to Heroku
remote:
remote: Verifying deploy... done.
To https://git.heroku.com/lit-retreat-6653.git
   4ece26b..938feb8  master -> master
Congratulations! Your application has been deployed. Head on over to your designated URL and you should see the default Laravel splash page.
Keep in mind the URL generated when you created the Heroku application is just for testing purposes; you can easily swap it out with a custom domain. See the Heroku documentation for more details.
Migrating Your Database
If you’ve been closely following along and deployed a brand new Laravel application, then presumably you successfully saw the default splash page load to your designated Heroku URL. However, if your project is backed by a database, then you’ll additionally need to at a minimum ensuring that any outstanding migrations are executed following deployment. However, if this is your first interaction with Heroku in the context of the new application, you’ll need to provision the database, which you can do with the Heroku Toolbelt:
$ heroku addons:add heroku-postgresql:hobby-dev
Adding heroku-postgresql:hobby-dev on lit-retreat-6653... done, v8 (free)
Attached as HEROKU_POSTGRESQL_NAVY_URL
Database has been created and is available
 ! This database is empty. If upgrading, you can transfer
 ! data from another database with pgbackups:restore.
Use `heroku addons:docs heroku-postgresql` to view documentation.
This command creates a new PostgreSQL database. Specifically, this database is identified by the plan
Hobby Dev, which is free but has some significant limitations (notably a limit of 10,000 rows). If you are interested in using Heroku for any long term project I strongly suggest carefully learning more about the various PostgreSQL plans
here.
If you’re wondering why I chose to create a PostgreSQL database rather than for instance a MySQL database, it’s because Heroku doesn’t support MySQL out of the box. However, Heroku
does support MySQL. Although Heroku does indeed prominently feature its PostgreSQL support, you can in fact use MySQL via the
ClearDB addon. However for reasons of convenience I’ll stick to using PostgreSQL in this section if for any other reason because you’ll find the majority of Heroku’s documentation tends to be PostgreSQL-centric.
With the database created, execute the following command to learn more about your database’s access credentials:
$ heroku config --app lit-retreat-6653 | grep DATABASE_URL
DATABASE_URL: postgres://USERNAME:PASSWORD@HOSTNAME:PORT/DATABASE
In the command output I’ve swapped out my access credentials with placeholders so you can easily identify the constituent parts. However, you don’t actually need to write these down, because the DATABASE_URLvariable is automatically stored in your server’s configuration settings. In order to transparently manage your database configuration variables in both the development and production environments, you could save yourself quite a bit of hassle by using PostgreSQL locally and saving an identically-formatted environment variable within your local environment.
Obviously you’ll also need to install and configure PostgreSQL within your local environment if it’s not already available. See
http://www.postgresql.org/ for installation instructions.
Exactly how you’ll do this will depend upon your particular operating system, so consult the appropriate online documentation for more details. However, once the local environment variable is in place there are a variety of ways you can reference it within your code. One of the most straightforward ways involves parsing the variable as a URL using PHP’s parse_url() function directly within the config/database.php file. Also, you’ll need to set the database default to pgsql:
'default' => 'pgsql',

...

'pgsql' => [
    'driver'   => 'pgsql',
    'host'     => parse_url(getenv("DATABASE_URL"))["host"],
    'database' => substr(parse_url(getenv("DATABASE_URL"))["path"], 1),
    'username' => parse_url(getenv("DATABASE_URL"))["user"],
    'password' => parse_url(getenv("DATABASE_URL"))["pass"],
    'charset'  => 'utf8',
    'prefix'   => '',
    'schema'   => 'public',
],
EX :
if(!empty(getenv("DATABASE_URL"))){ $url = parse_url(getenv("DATABASE_URL")); $host = $url["host"]; $username = $url["user"]; $password = $url["pass"]; $database = substr($url["path"], 1);}else{ $host = env('DB_HOST', 'localhost'); $username = env('DB_USERNAME', 'forge'); $password = env('DB_PASSWORD', ''); $database = env('DB_DATABASE', 'forge');}
Save the changes and consider creating a model and corresponding migration to confirm you’re able to properly connect to the new PostgreSQL database. After doing so, commit your changes and push them to Heroku:
$ git add .
$ git commit -m "Updated database configuration"
$ git push heroku master
Next, you’ll want to migrate the database. You can easily do this using the Heroku Toolbelt’s run command:
$ heroku run php artisan migrate --app lit-retreat-6653
Running `php artisan migrate` attached to terminal... up, run.6981
**************************************
*     Application In Production!     *
**************************************

Do you really wish to run this command? [y/N] y
Migration table created successfully.
Migrated: 2014_10_12_000000_create_users_table
Migrated: 2014_10_12_100000_create_password_resets_table
Migrated: 2015_01_30_032004_create_todolists_table.php
Your migrations are now in place!
Summary
Although Heroku is traditionally known for its fantastic Ruby on Rails support, my experience with this fantastic hosting service indicates it will soon become equally respected among the PHP community. If you have deployed PHP/Laravel applications on Heroku, share your thoughts in the comments!
from : http://www.easylaravelbook.com/blog/2015/01/31/deploying-a-laravel-application-to-heroku/


 發表文章
發表文章


