(This is part of a series of posts on Laravel on Heroku. Check back soon for more.)
Heroku has had PHP support for a while, but it's been a definitively second-class citizen. Yesterday Heroku announced a huge boost in their PHP support, including out-of-the-box Composer support and an intention to become a legitimate destination for hosting modern PHP apps.
So, let's take a look at the fastest and simplest way to get a stock Laravel install up and running on Heroku.
Pre-requisite: #
Sign up for a Heroku account and install the Heroku toolbelt, a command-line toolkit for managing your Heroku apps.
Create the project #
However you prefer, get your Laravel project initialized.
$ laravel new laravel-heroku
$ cd laravel-heroku
Add your Procfile #
Heroku knows which processes to run for your app based on a configuration file called a
Procfile. The default apache2 process (if you don't use a Procfile) points to the web root, not to /public... so we need to create a custom Procfile to serve the site from /public.
Add a file with the name
Procfile (capitalization matters) that contains this line:web: vendor/bin/heroku-php-apache2 publicIMPORTANT: Heroku has made some changes recently, and you will likely have to run the following code in order for your Heroku app to detect that it's PHP:heroku config:set BUILDPACK_URL=https://github.com/heroku/heroku-buildpack-php. Thanks Jason McCallister!
Initialize the git repo #
OK, our code is ready to go. Let's get it into git.
$ git init
$ git add .
$ git commit -m "Initial commit of stock Laravel install."
Create the Heroku app #
Since you have the Heroku Toolbelt installed, you can create and modify your apps directly from the command line.
$ heroku create
The output/prompt should look something like this:
± heroku create
Enter your Heroku credentials.
Email: [enter]
Password (typing will be hidden): [enter]
Creating app-name-here... done, stack is cedar
http://app-name-here.herokuapp.com/ | git@heroku.com:app-name-here.git
Git remote heroku added
Write down or just remember the "app-name-here"; this is the unique identifier for the Heroku app you just created. The app will run on the Heroku Cedar stack by default.
Deploy your code to the Heroku app #
With Heroku, you push new code to your site by pushing to the
heroku git remote.$ git push heroku master
Look for this at the end:
----> Launching... done, v3
       http://app-name-here.herokuapp.com/ deployed to Heroku
Celebrate! #
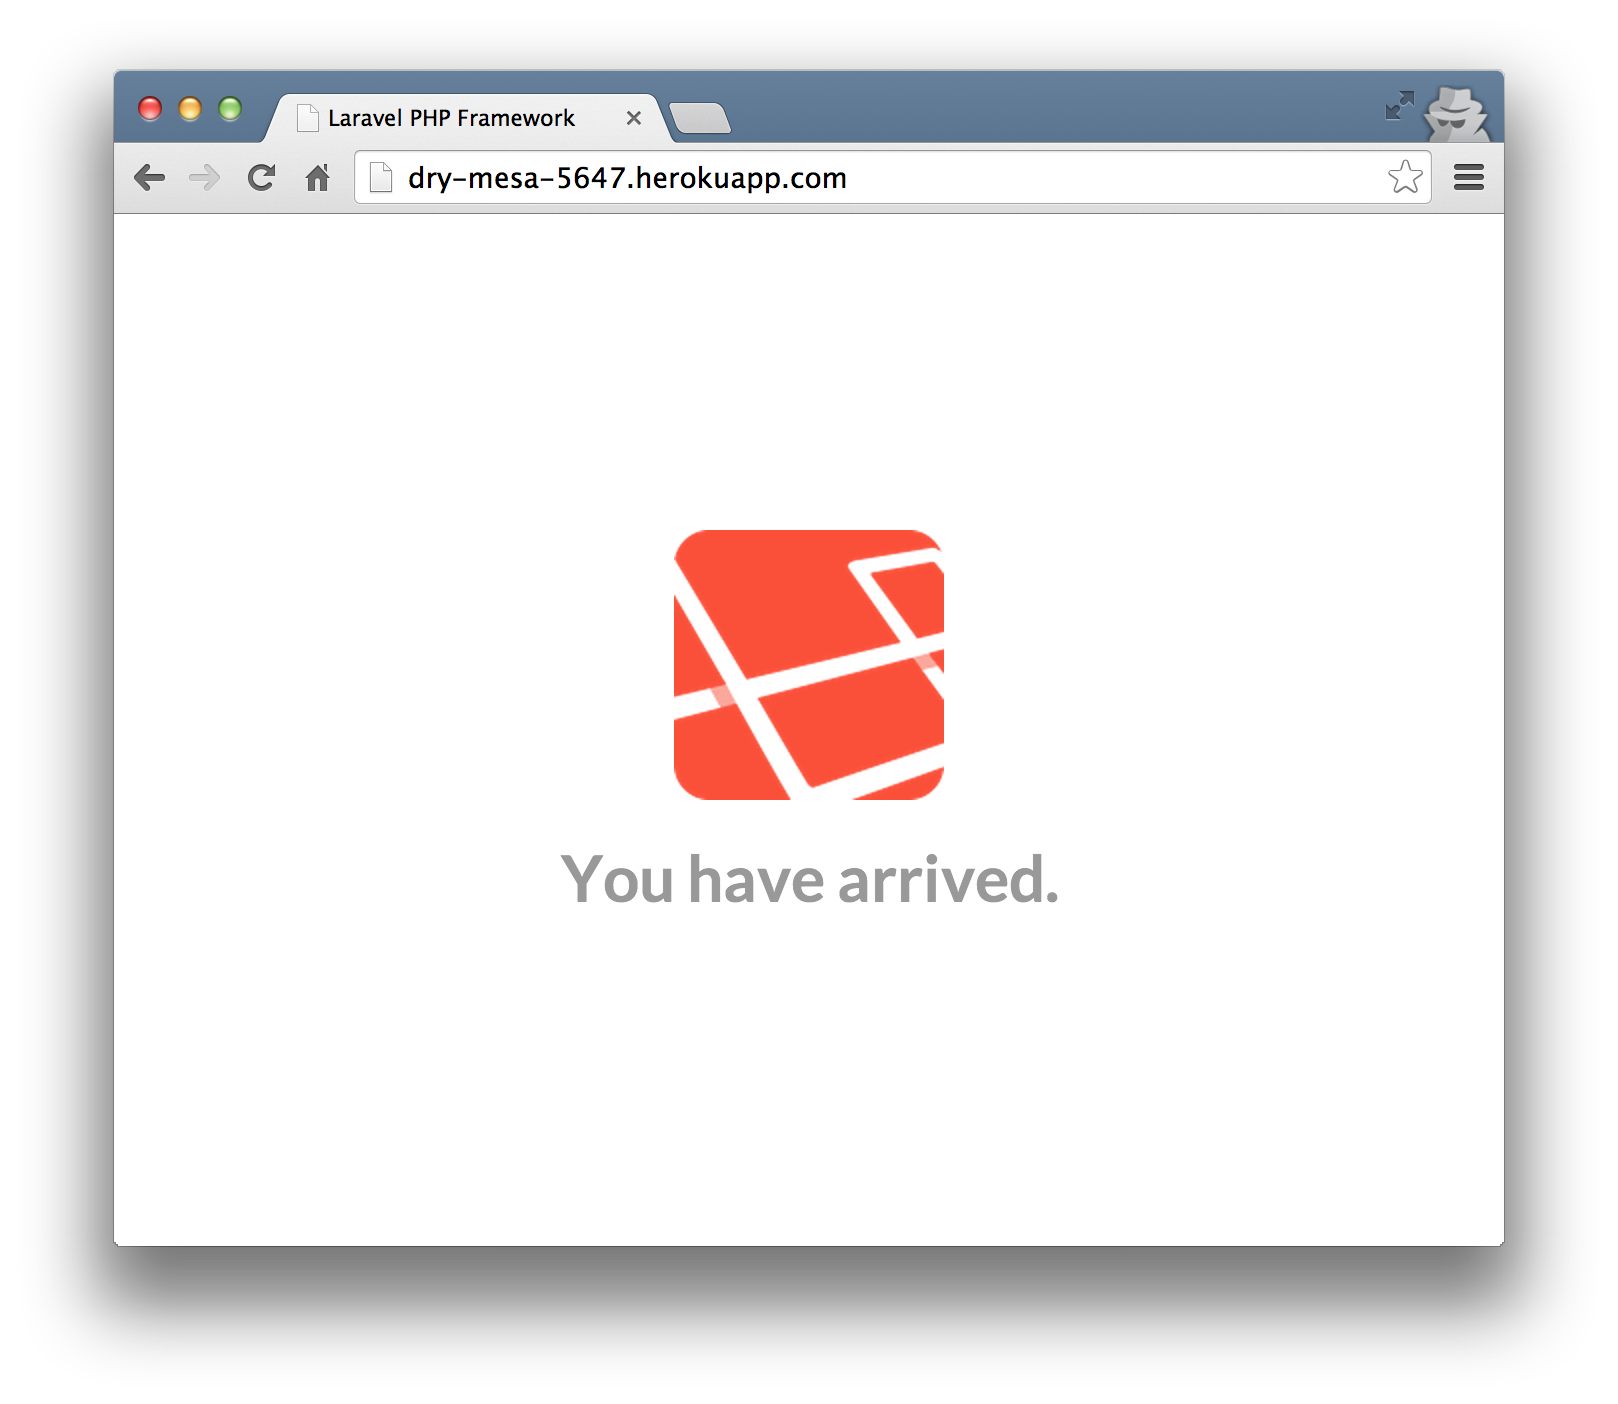
Check it: 

Notes #
Heroku's PHP support is not the only thing that has gotten an upgrade; their PHP support documentation is now fantastic. Check it out for many more tutorials and much more in-depth introductions. Heroku - Getting Started With PHP
Postscript #
2015/10/28: I haven't run this recently, but I've heard from a few folks that we need an extra step or two. The first is that you need to log into Heroku and add a config variable for
APP_KEY, and set it to any 32-character-long string.
If you have any issues with this walkthrough, please let me know on Twitter so i can keep this up-to-date. Thanks!
from : https://mattstauffer.co/blog/installing-a-laravel-app-on-heroku


沒有留言:
張貼留言